⚙️Assembly Process for Plastic Control Valves
Our plastic control valves are manufactured through a standard process. Here is how we ensure the valves leak-free :
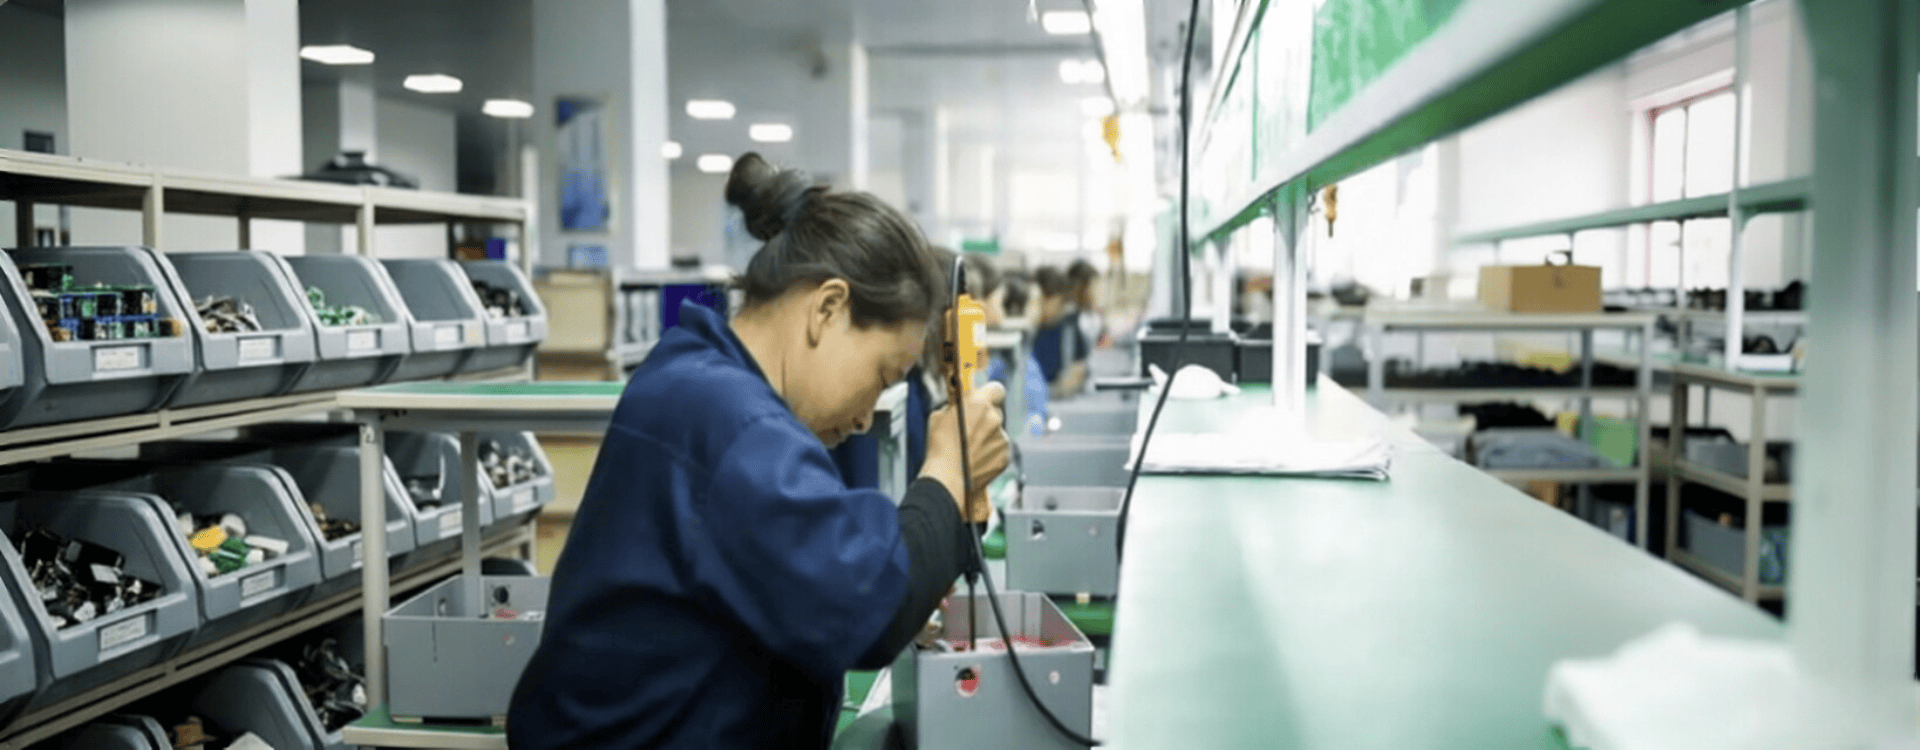
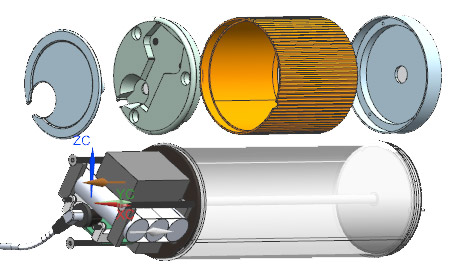
1 Component Kitting & Incoming Inspection
The process begins with the kitting of all components, including the main valve body, solenoid assembly, actuator housing, sealing gaskets, and screws. Incoming inspection is carried out in accordance with ISO 9001 standards. We also focus on material specifications, including color consistency, food-grade compliance, and UL ratings.
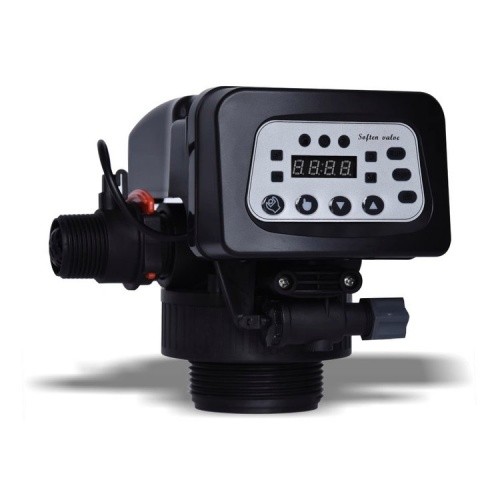
2 Housing & Electronics Sub-Assembly
The electronic control module, which includes the LCD screen and keypad, is mounted into the actuator housing. This sub-assembly is then taped to the main valve body.
3 Automated Hot Melt Welding
To meet the high-pressure test requirement (10 bar), we use Hot Melt Welding to ensure structural integrity. While ultrasonic welding offers a cleaner look, it often lacks the necessary strength for this application. An automatic welding machine is used to ensure all parts are reliably welded, reducing errors which occurred in manual welding. Sealing surfaces are inspected to confirm they are clean and free from damage after welding. Then all O-rings and gaskets are correctly seated to prevent leaks.
4 10-Bar Pressure Testing
After assembly, each control valve undergoes a 10-bar pressure test. This test checks the structural integrity of the valve body and the seals, ensuring the product is leak-free and ready for operation.
5 Packaging
Finally, the product is packaged using foam inserts, a color box, and an outer five-layer corrugated cardboard carton to ensure no damage occurs during transportation.

Start Your Quote Here
CATEGORIES
LATEST NEWS
CONTACT US
- Mobile: +8615000908770
- Tel: +86-21-51662821
- WhatsApp: 8615000908770
- Email: contact@yxplasticmolding.com
- Address: Room 323, Building B, Hongchun Business Park, No. 980 Qinghewan Road, Qingpu District, Shanghai